Smart and Stylish Wall-Mounted TVs to Enhance Your Living Room Experience and Save Space
Smart and Stylish Wall-Mounted TVs to Enhance Your Living Room Experience and Save Space
The Ultimate Guide to Wall-Mounting Your TV
In the modern living room, a sleek, wall-mounted TV has become a focal point in interior design. Not only does wall-mounting a television create a cleaner, more organized space, but it also enhances the viewing experience by optimizing screen height and reducing visual clutter. If you're considering making this upgrade, read on for a comprehensive guide on how to wall-mount your TV effectively.
Choosing the Right Mount
The first step in wall-mounting your TV is selecting the appropriate mount. There are three main types of TV mounts fixed, tilting, and full-motion (articulating).
1. Fixed Mounts These are ideal if you want a sleek profile and don’t need to adjust the angle of the screen. They keep the TV close to the wall and are perfect for setups where viewing angles are straightforward.
2. Tilting Mounts If your TV will be mounted higher on the wall, a tilting mount can be beneficial. It allows you to angle the screen downward for a better viewing experience, reducing glare from overhead lights.
3. Full-Motion Mounts For those who want the ultimate flexibility, full-motion mounts allow you to extend, swivel, and tilt the TV. This is perfect for rooms where viewers may be seated at different angles or where repositioning the TV is common.
When selecting a mount, ensure it is compatible with your TV’s size and weight. Most manufacturers provide specifications to help you find the right match.
Tools and Preparation
Before you begin the installation, gather the necessary tools a stud finder, level, drill, screwdriver, and measuring tape. Make sure to also have a helper on hand—TV mounting is often a two-person job, especially when handling larger screens.
Once you have your tools, measure the height at which you want to mount the TV. The ideal viewing height is typically eye-level when seated. A common guideline is to center the TV about 42 inches from the floor, but this can vary based on the size of your TV and your seating arrangement.
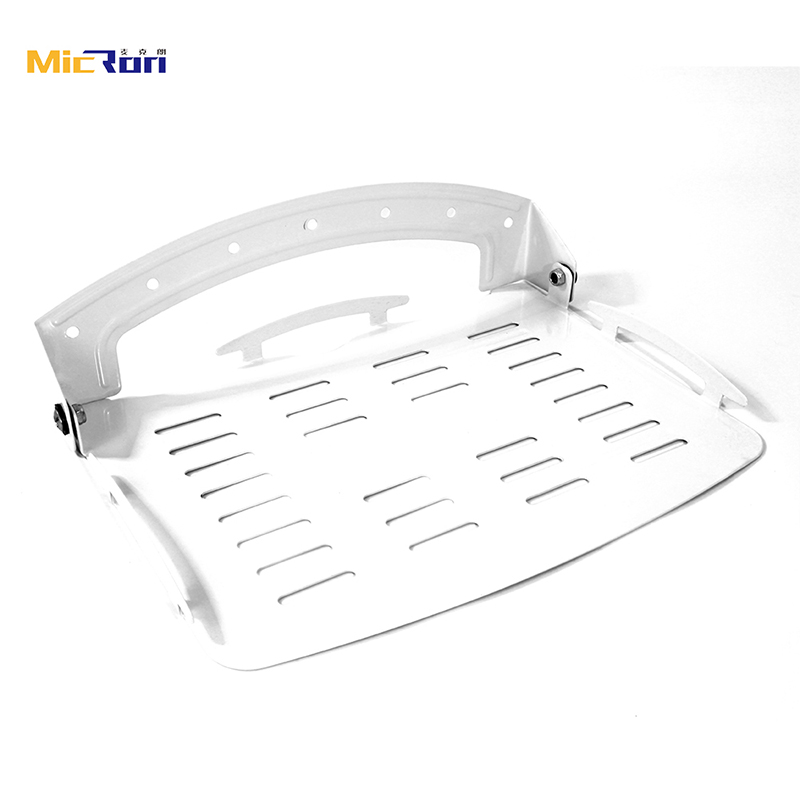
wall mount tv product

Finding the Perfect Spot
Use a stud finder to locate wall studs, which are essential for ensuring a sturdy mount. Mark the location of the studs and choose the best spot for your mount. Avoid placing your TV over heat sources like fireplaces or in direct sunlight, which can affect performance and comfort.
Installation Steps
1. Mark the Mounting Bracket Hold the mounting bracket against the wall and use a level to ensure it is straight. Mark the screw holes with a pencil.
2. Drill Holes Using a drill, create holes in the marked locations. If you’re drilling into drywall and not a stud, use molly bolts or drywall anchors for added support.
3. Attach the Mount Secure the mounting bracket to the wall, ensuring it is tight and stable.
4. Attach the TV Most mounting systems have a plate that attaches to the back of the TV. Carefully lift the TV and secure it onto the wall bracket, following the manufacturer’s instructions.
Cable Management
Once your TV is mounted, consider how to manage the cables. An organized setup can make a significant difference in aesthetics. You might use cable covers that paint-match the wall or drill a channel into the wall to keep cables hidden behind the TV.
Conclusion
Wall-mounting a TV can enhance both the functionality and the style of your living space. With the right tools, a suitable mount, and careful planning, you can transform your entertainment area into a sleek, modern setup. Remember to take your time during the installation process, and enjoy your newly mounted TV for years to come!
-
Reliable Tilt TV Mount Company & Manufacturer, Factory Direct PriceNewsJul.30,2025
-
Reliable Tilt TV Mount Company & Manufacturer, Factory Price & ServiceNewsJul.29,2025
-
Installing TV Wall Mount in Apartment for Secure and Sleek SetupNewsJul.29,2025
-
High-Quality Tilt TV Mount Exporters for Secure InstallationNewsJul.29,2025
-
Professional Tilt TV Mount Company & Manufacturer, Competitive PricelistNewsJul.28,2025
-
Top Tilt TV Mount Exporters: Quality Manufacturer & Competitive PricingNewsJul.28,2025
